Painting Over Woodchip Wallpaper: Four Steps That Work
 Save
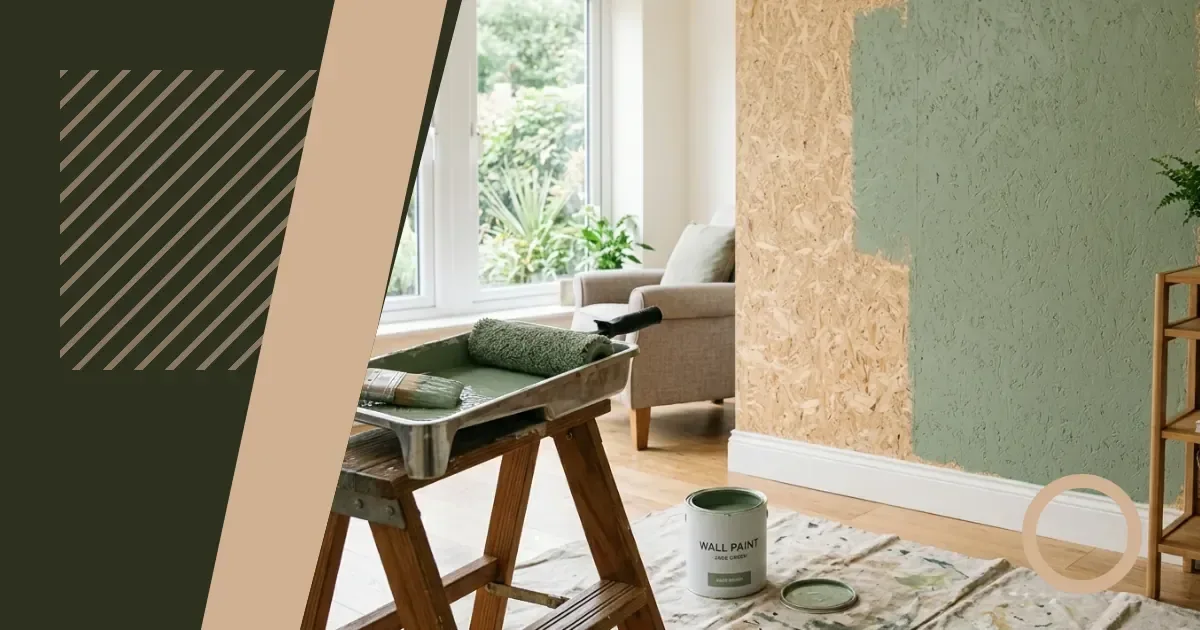
You can paint over woodchip wallpaper if it's firmly bonded to the wall and you're happy with the textured finish. Fleur and Grey walks you through checking the condition, sealing the surface and choosing the right primer so the paint sits evenly. Removal is the better route when the paper's lifting or you want smooth walls.
Checking Whether Your Woodchip Is Worth Painting
Press the wallpaper across several spots with your palm. If it moves, feels spongy or has edges lifting away from the plaster, paint will trap moisture underneath and the bond will fail within months. Woodchip that's been on the wall for decades often has multiple layers of emulsion sealing it down, which makes it stable enough to paint over.
Run your hand along seams and corners. Gaps wider than a coin's edge let water in during painting and cause bubbling later. Small loose sections can be glued back with wallpaper adhesive; widespread lifting means removal is the only option that won't waste your time.
Weighing the Textured Finish
Woodchip leaves a raised, stippled surface that shows through every coat of paint. Some people like the texture for hiding uneven plaster or adding grip to a wall; others find it dated. Paint won't flatten it, so if you want smooth walls, you're choosing between skimming over the paper or stripping it off first.
Preparing the Surface Before Painting
Dust and grease stop primer bonding. Wipe the wall down with sugar soap solution, working from the top down, then rinse with clean water and let it dry completely. Trapped moisture under fresh paint causes the paper to peel within weeks.
Fill any holes or damaged sections with interior filler, feathering the edges so they blend into the texture. Sand lightly once dry, brushing off the dust before moving to the next step.
Dealing with Nicotine Stains
Yellow or brown staining from smoke will bleed through standard emulsion. A stain-blocking primer seals it in; two thin coats work better than one thick one. Let each coat dry fully before testing a small patch with your topcoat to check the stain stays hidden.
Choosing the Right Primer for Woodchip
Woodchip soaks up paint unevenly because the paper and the chips absorb at different rates. A primer designed for porous surfaces seals both and gives you a uniform base. Standard emulsion as a first coat uses more paint and still leaves patchy coverage.
Oil-based primers take longer to dry but lock down old layers more securely, which matters if you're unsure how many coats are already there. Water-based versions dry faster and smell less, suitable when the woodchip is recent and in good condition. Check the tin for coverage rates; woodchip often needs more than smooth plaster.
Applying Paint Over Sealed Woodchip
- Brush primer into the texture with a thick-nap roller, pressing firmly to reach the recesses. Work in sections to keep a wet edge and avoid lap marks.
- Let the primer cure for the time the manufacturer states, usually overnight. A second coat may be needed if the paper's still showing through in patches.
- Apply your topcoat in the same way, using a roller with enough pile to cover the peaks and troughs. Two thinner coats give better coverage than one heavy layer.
- Check the finish in daylight once dry. The texture will cast small shadows; uneven colour means you've missed a spot or the primer wasn't thick enough.
Managing Paint Build-Up
Each layer adds thickness, and woodchip already sits proud of the plaster. After several repaints, the texture becomes exaggerated and edges around light switches or skirting boards look clumsy. At that point, removal or overboarding makes more sense than another coat.
Knowing When Removal Beats Painting
Stripping woodchip takes effort, but it's the only way to get smooth walls or deal with paper that's no longer secure. Score the surface with a wallpaper scraper, soak it with warm water and washing-up liquid, then lift it away in sections. Steamers speed the process up when the paper's been painted multiple times.
If the plaster underneath is in poor condition, you'll need to repair it before redecorating. That adds time but gives you a better finish than painting over damage. Preparing walls after wallpaper removal covers the steps for getting the surface ready once the paper's off.
| Approach | When It Works | What It Keeps |
|---|---|---|
| Painting over | Paper firmly stuck, texture acceptable | Textured finish, existing bond |
| Removal | Lifting edges, smooth finish wanted | Access to bare plaster |
| Overboarding | Paper stable but texture unwanted | Existing wall as a base |
Avoiding Common Mistakes
Skipping the primer is the fastest route to patchy, uneven colour that needs repainting within months. Woodchip's absorbency varies across the surface, and topcoat alone can't compensate for that.
Painting over loose sections hoping they'll stick down wastes paint and time. Trapped air pockets expand as the wall heats and cools, lifting the paper further and cracking the paint film. Fix or remove any loose areas before opening the first tin.
Dealing with Persistent Texture
Some people try to flatten woodchip by applying thick coats of paint or filler. Neither works well; the texture telegraphs through and the extra weight can pull the paper away from the wall. If you dislike the finish after the first coat, removal or overboarding with plasterboard saves more effort than trying to bury the texture under layers.
Overboarding as a Middle Route
Fixing thin plasterboard over woodchip gives you smooth walls without the dust and mess of stripping. The board needs to be secured to the studs or battens, not just stuck to the wallpaper, and the room loses a small amount of width. It's faster than removal when the woodchip covers a large area and the plaster underneath is suspect.
Cables and sockets will need extending forward to sit flush with the new surface. That adds cost but delivers a clean finish that's ready to paint once the joints are taped and filled. Choosing white paint matters more on smooth walls, where every variation in tone shows clearly.
Download PDF: Painting Over Woodchip: Your Preparation Checklist PDF, 30 KB
Further reading
Frequently asked questions
Can you paint directly onto woodchip wallpaper without priming it first?
You can, but the paint will soak in unevenly and you'll need multiple coats to get even coverage. A primer seals the porous surface and saves paint in the long run.
What kind of paint works best over woodchip that's already been painted?
Standard emulsion works once the surface is primed. Use a thick-nap roller to reach into the texture, and apply two thin coats rather than one heavy layer for even coverage.
How do you know if woodchip wallpaper is too damaged to paint over?
Press the paper with your palm; if it moves, feels soft or has lifting edges, it's not secure enough. Paint will trap moisture and cause the bond to fail within months.