Prepare your walls after wallpaper removal in six steps
 Save
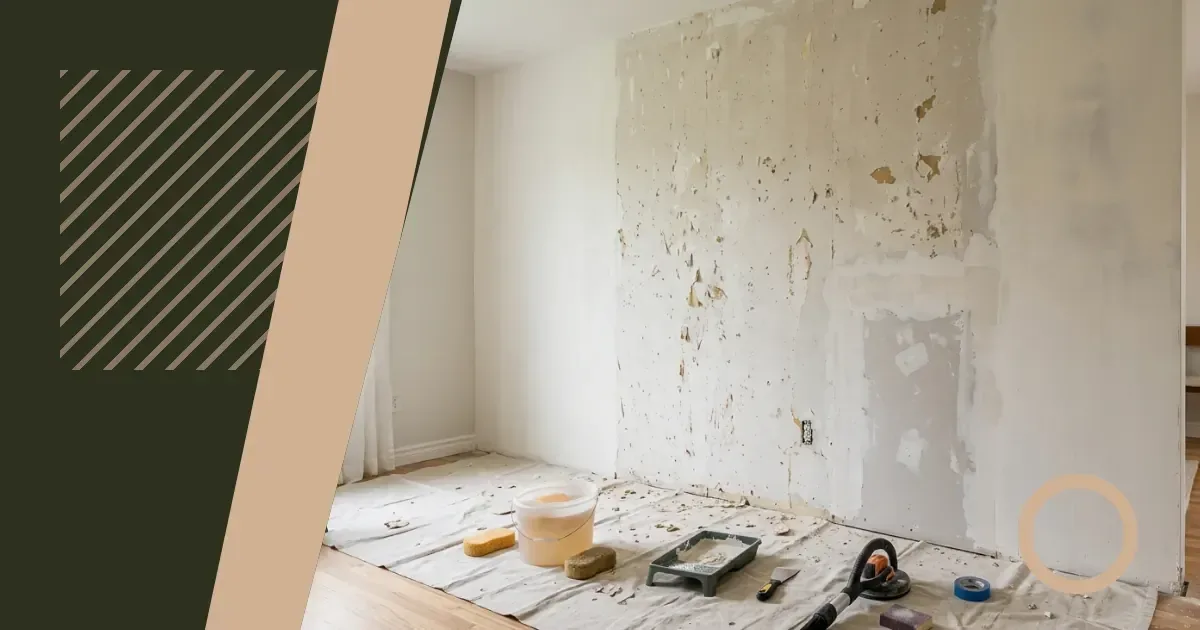
Strip away wallpaper and the wall underneath tells a story you didn't ask for: patches of torn paper backing, adhesive that won't shift, gouges where a scraper went too deep. Paint applied straight over that mess shows every flaw, sometimes worse under a fresh coat than it looked before. Fleur and Grey walks through the surface preparation that stops paint from advertising what you tried to hide.
Wash away adhesive residue first
Wallpaper paste left on the wall stops paint from sticking properly. The paint sits on top of the glue instead of bonding to the plaster, and within weeks it can bubble or peel in the same spots the old paper occupied.
Mix warm water with a small amount of washing-up liquid in a bucket. Sponge the solution onto the wall in sections, working from the top down so dirty water doesn't run over clean areas. Wring the sponge out well before each pass—flooding the wall soaks into the plaster and creates its own problems later.
Stubborn adhesive needs a stiffer approach. A paste of bicarbonate of soda and water, rubbed gently with a cloth, lifts glue without scratching the surface underneath. Rinse each section with clean water on a fresh sponge, then let the wall dry completely before moving to the next step.
Test whether the wall is dry enough
Press the back of your hand flat against the wall. If it feels cool to the touch, moisture is still evaporating. Wait another day. Paint traps moisture inside the wall, which later pushes the coating away from the surface.
Fill holes and gouges with the right filler
Hairline cracks and shallow dents take a different filler from deeper holes. Powder filler mixed with water handles small imperfections—apply it with a filling knife, slightly overfilling each depression, then scrape the excess away in one smooth pass so the patch sits flush with the surrounding wall.
Holes deeper than a coin's thickness need a ready-mixed filler that doesn't shrink as it dries. Press it firmly into the cavity, working out air pockets, and build it up in layers if the hole is deep. Each layer must dry before the next goes on, or the patch cracks as the inner layers cure.
Leave filler proud of the surface by a fraction. It's easier to sand a slight raised area flat than to fill and sand repeatedly because you left a shallow dish. The knife's angle controls the finish: hold it almost flat to the wall for a smooth pass, steeper for packing filler into a hole.
Match filler to the damage
Torn paper backing often leaves a texture difference rather than a hole. Skim these areas with a thin layer of finishing plaster or a fine surface filler, feathering the edges outward so they blend invisibly into the surrounding wall. A damp sponge smooths the filler while it's still workable, which reduces the sanding needed later.
Sand the surface to one consistent texture
Filler, adhesive and torn paper all leave different textures. Paint shows these differences as a patchwork of flat and rough areas, especially under a window or beside a door where light rakes across the wall at a low angle.
Wrap medium-grit sandpaper around a sanding block and work in circular motions over each filled area, blending the edges into the wall. Switch to fine-grit paper for a final pass over the whole surface. The goal is uniformity, not mirror smoothness—overzealous sanding removes too much filler and reopens the imperfections you just filled.
Dust left from sanding sits on the wall like a powder and stops paint from adhering. Wipe the entire surface with a damp cloth, wrung out until it's barely moist, then leave the wall to dry again before priming.
Prime bare patches so paint goes on evenly
Torn paper and deep repairs leave patches of bare plaster that drink paint at a different rate from the rest of the wall. Your first coat disappears into these areas while the surrounding wall looks covered, and even after several coats the patched spots show as dull or darker zones.
A primer sealer blocks the wall's absorbency so the top coat behaves the same everywhere. Brush or roll it onto any area where the original wall surface is exposed, slightly beyond the edges of the repair. One coat is enough for small patches; larger areas of bare plaster may need two.
Let the primer dry to the touch before painting. The product label gives a time, but a fingertip pressed lightly against the primed area is the real test—if it feels tacky, wait longer.
When to prime the entire wall
If stripping wallpaper exposed bare plaster across more than half the wall's surface, priming the whole thing is faster and delivers a more consistent base than spot-priming. A diluted coat of your finish paint can work as a mist coat on new plaster, but a dedicated primer gives better coverage and requires less paint overall.
Check the wall under a raking light before painting
Overhead lighting hides imperfections that side lighting reveals. Before opening the paint tin, shine a work lamp or a torch along the wall from one corner, holding the light close to the surface so shadows fall into every dip and raised edge.
You'll see ridges where filler wasn't sanded flush, adhesive patches you missed and hairline cracks that need attention. Fix them now with a light sand or a skim of filler, because paint makes these flaws permanent—not invisible.
This check also shows whether the surface texture is consistent. Walls that were papered for years sometimes have a different finish in areas the paper didn't cover, such as behind radiators or inside cupboards. A coat of primer or a light sanding evens them out.
Follow the preparation sequence without shortcuts
Each step sets up the next, and skipping one shows in the final result. Miss the wash and filler won't stick; skip the primer and paint soaks in unevenly; sand before the filler is dry and you'll gouge fresh holes.
- Wash the wall to remove all adhesive residue, then let it dry completely.
- Fill holes, cracks and torn patches with the appropriate filler, applied in layers if needed.
- Sand filled areas and the surrounding wall to a uniform texture using medium then fine-grit paper.
- Wipe away sanding dust with a damp cloth and allow the wall to dry.
- Prime any bare plaster or large repairs so the top coat absorbs evenly.
- Inspect the wall under a raking light and address any remaining flaws before painting.
The sequence matters because moisture, texture and absorbency all interact. A damp wall won't take filler cleanly, unsealed plaster makes paint patchy, and dust stops everything from sticking. Work through the steps in order and each one makes the next easier.
Common problems and how to avoid them
Paint that bubbles or peels shortly after application points to adhesive left on the wall or moisture trapped underneath. Both problems come from rushing the wash or not allowing enough drying time between steps.
Patches that show through the paint as dull or darker areas mean bare plaster wasn't primed. The wall absorbed paint at different rates, and adding more coats deepens the unevenness rather than fixing it. Strip the paint from those areas, prime them and repaint.
Visible filler lines happen when filler is applied too thickly or not feathered at the edges. The ridge catches the light even under several coats of paint. Sand it back to flat and repaint, or live with it—adding more paint only highlights the line.
When walls need professional replastering
Large areas of crumbling plaster, deep cracks that reappear after filling, or walls that feel unstable when pressed need more than surface preparation. A plasterer can skim the entire wall with a thin layer of finishing plaster, giving a fresh surface that's ready to paint once cured. Trying to patch severe damage with filler alone leaves a lumpy, fragile result that fails under paint.
Choosing the right tools makes the work cleaner
A flexible filling knife leaves a smoother finish than a stiff scraper. The blade bends slightly to follow the wall's contours instead of digging in or skipping over dips. A sanding block keeps pressure even across the paper, which stops you from creating new hollows as you smooth out the old ones.
| Tool | What it does | Why it matters for this job |
|---|---|---|
| Filling knife | Applies and smooths filler | Flexible blade feathers edges invisibly into the wall |
| Sanding block | Holds sandpaper flat | Distributes pressure evenly, preventing new dips |
| Sponge and bucket | Washes and rinses surfaces | Removes adhesive without saturating the plaster |
| Work lamp or torch | Provides raking light | Reveals imperfections that overhead light hides |
Cheap sponges fall apart quickly and leave bits of foam on the wall. A natural sponge or a dense synthetic one lasts longer and rinses cleaner. The bucket needs to be large enough that you're not constantly refilling it, but small enough to move easily as you work your way around the room.
Related preparation work worth doing at the same stage
Once the walls are stripped and being prepared, other tasks become easier. Removing wallpaper without damaging walls covers the stripping stage that comes before this preparation, with methods that leave less repair work behind.
Skirting boards and architraves often need attention at the same time—fill nail holes and gaps, sand any rough edges, and wipe them down before painting. Doing this while the walls are bare means you can be less careful about drips and dust, and the whole room finishes together.
If you're repainting the ceiling as well, do it before the walls. Cutting in at the ceiling line is easier when the wall below is still primer, and any splashes or roller marks on the wall disappear under the final wall coat. Working with magnolia walls when repainting isn't an option offers alternatives when changing the colour isn't possible, but the preparation steps stay the same.
Sort your preparation in the next few days
Walls dry faster than you think when the heating is on, so don't wait for perfect conditions. Start with one wall and see how the steps fit together.
Wash one wall section this weekend and note how long it takes to dry. Fill visible holes and cracks as soon as the surface is dry. Sand filled areas the next day and check your work under a raking light. Pick up primer and test it on one patched area before committing to the whole wall.
#DIY #Budget decorating #Neutral colours
Download PDF: Wall Preparation After Wallpaper Removal PDF, 29 KB
Further reading
Frequently asked questions
Do I need to remove all traces of wallpaper backing before painting?
Any paper left on the wall will show through paint as a texture difference or may lift later as the adhesive underneath reacts to moisture. Scrape or sand away all visible backing, then wash the wall to remove adhesive residue before filling and priming.
How long should walls dry after washing off wallpaper paste?
At least overnight in a heated room, longer in cold or damp conditions. Press the back of your hand against the wall—if it feels cool, moisture is still evaporating and the surface isn't ready for filler or paint.
Can I skip priming if I'm using paint with primer included?
Paint-and-primer products work on surfaces that are already sealed and uniform, but they won't stop bare plaster from absorbing the first coat unevenly. Patch-prime any exposed plaster or large repairs, then use the combined product for the top coats if you prefer.